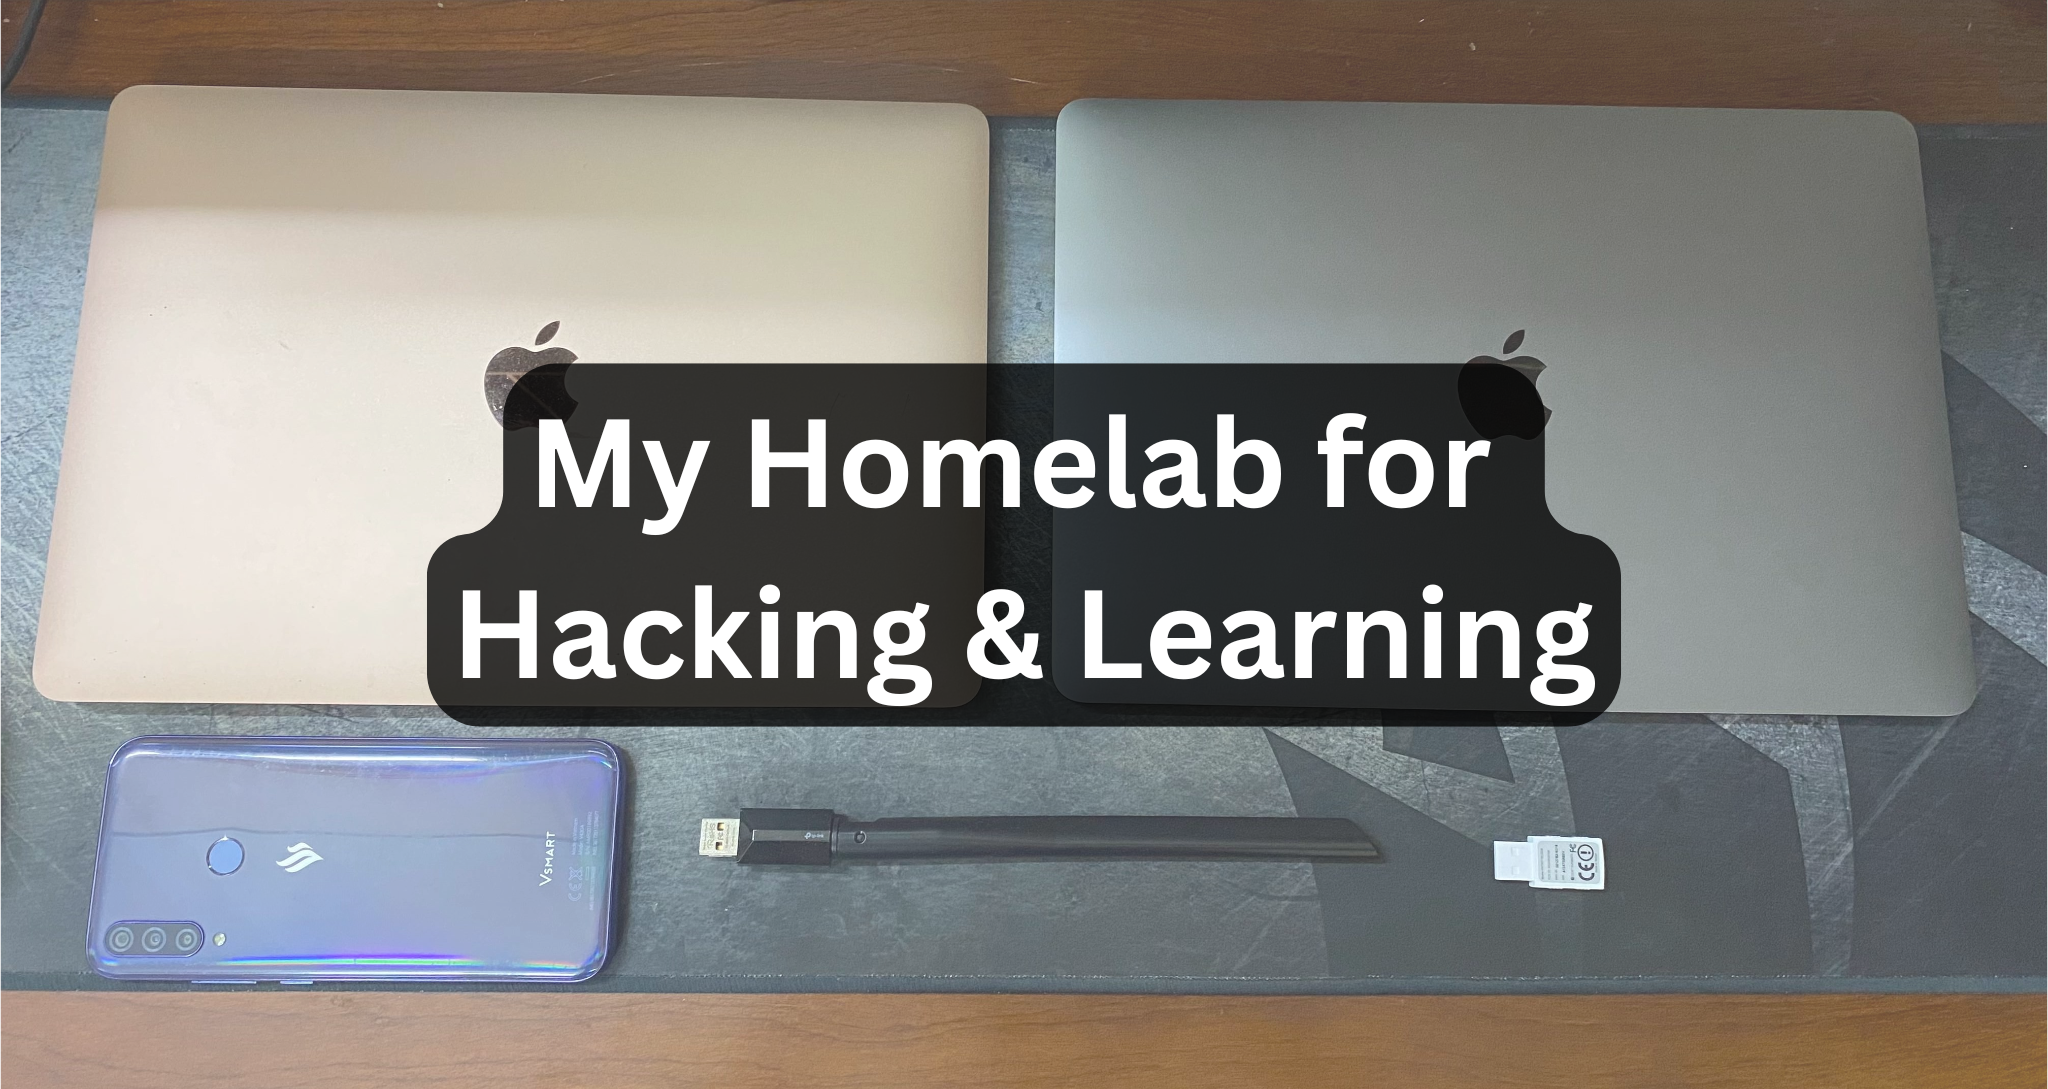
About My Homelab
My home lab is my personal playground for learning and experimenting.
It’s where I break things, fix them, and gain hands-on experience with the tools and technologies that are essential in cybersecurity and IT.
Instead of just reading about concepts, I test them in practice — in a safe, controlled environment.
Why I Built It
- To practice ethical hacking and CTF challenges in a safe way.
- To understand networking beyond theory.
- To simulate real-world attacks and defenses.
- To get comfortable with system administration tasks.
A homelab gives me freedom: if I mess something up, I can just reset it without fear of breaking my main computer.
Devices in My Homelab
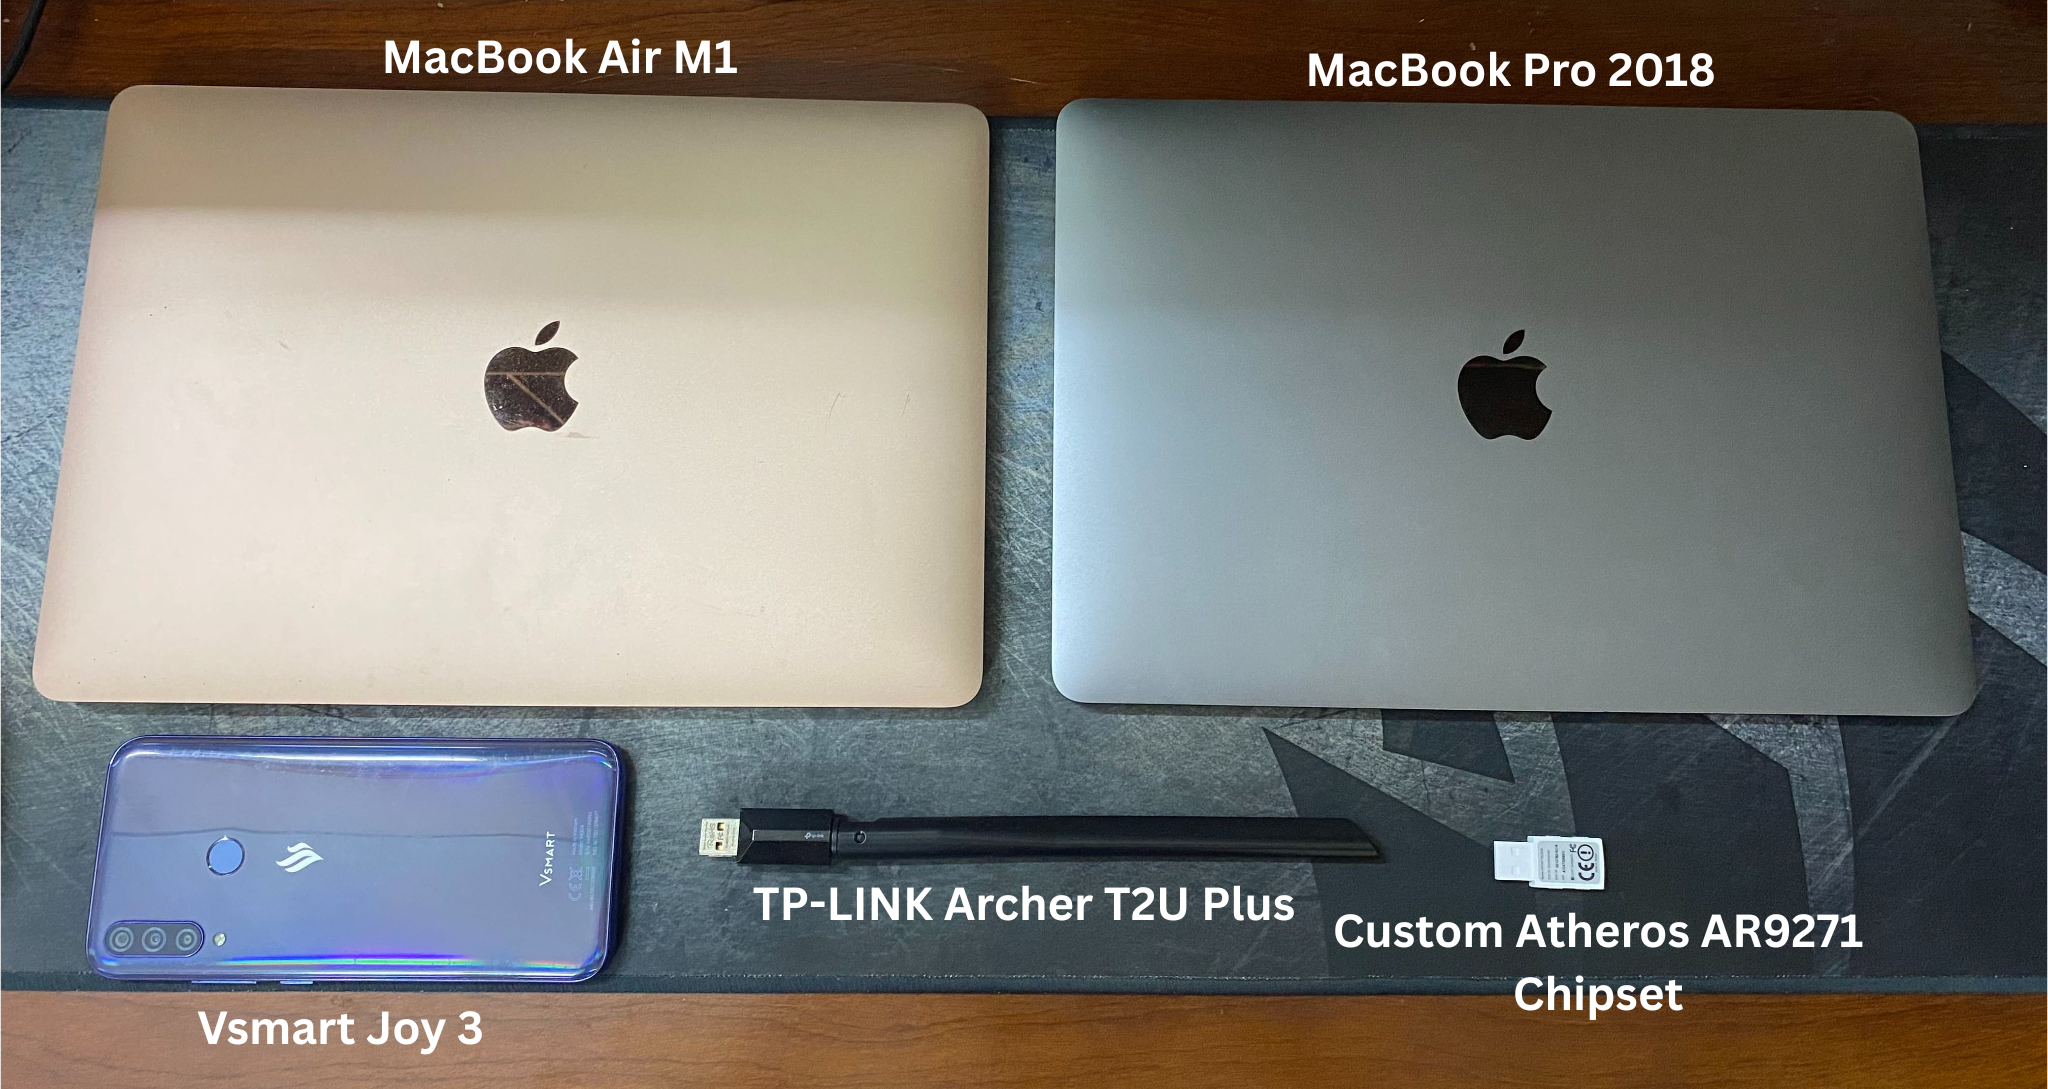
MacBook Air (M1)
- Specs: M1 (ARM64), 8 GB RAM, 256 GB SSD
- Role: Main device — primary machine for running most VMs and day-to-day hacking work.
- Notes:
- Runs ARM-compatible images (e.g. Kali ARM64).
- I rely on snapshots and fast backups because this is the device I use most.
- Careful with heavy parallel VMs due to 8 GB RAM — I usually run 1–2 lightweight VMs simultaneously.
MacBook Pro (2018)
- Specs: Intel i5, 8/16 GB (depending on model), 256 GB SSD
- Role: Secondary machine for browsing, research, and other tasks (including dark-web exploration in isolated VMs).
- Notes:
- Good for running x86 VMs (Metasploitable, Windows).
- Keep isolation: use separate VM networks and avoid sharing host folders when researching risky content.
Vsmart Joy 3
- Role: Mobile device used for penetration testing (on-device testing, mobile recon, app testing).
- Notes:
- Useful for testing mobile-specific behaviors and recon tools.
- Always factory-reset or isolate before/after sensitive testing.
USB Wireless Adapters
TP-LINK Archer T2U Plus
- Role: Wireless adapter used for network hacking, supports monitor mode and packet sniffing in many Linux distributions.
- Notes: Works great as a USB adapter for Kali; ensure drivers are installed and you attach it to the VM (USB passthrough).
Custom Atheros AR9271
- Role: My preferred adapter for soft packet sniffing, AP mode, and general wireless experimentation.
- Notes: Atheros chips have great Linux support; ideal for Aircrack-ng, hostapd, and related tools.
VMs I Run
Kali Linux 2025 (ARM64)
- Primary pentest distribution on the M1. Includes tooling for network, web, and wireless testing.
- Tip: use lightweight desktop (XFCE) or headless setups to save RAM.
Metasploitable 3
- Vulnerable target VMs for safe practice of exploitation techniques. Run in an isolated network or NAT mode.
Windows 11 Home Edition
- Use for testing Windows-specific tools, payloads, and for malware/behavior analysis within an isolated VM. Snapshot before/after experiments.
What I Do in the Lab
- TryHackMe & OverTheWire challenges & other CTFs challenges.
- Network scanning and enumeration
- Building small services (web, database) and securing them
- Testing & learning tools like Wireshark, Burp Suite, Hydra, Nmap, etc.
Closing Thoughts
This homelab isn’t about having the latest hardware.
It’s about creating an environment where I can fail, learn, and grow as a cybersecurity student.
A homelab is like a gym for your technical skills — the more you train, the stronger you get. 💻🔥